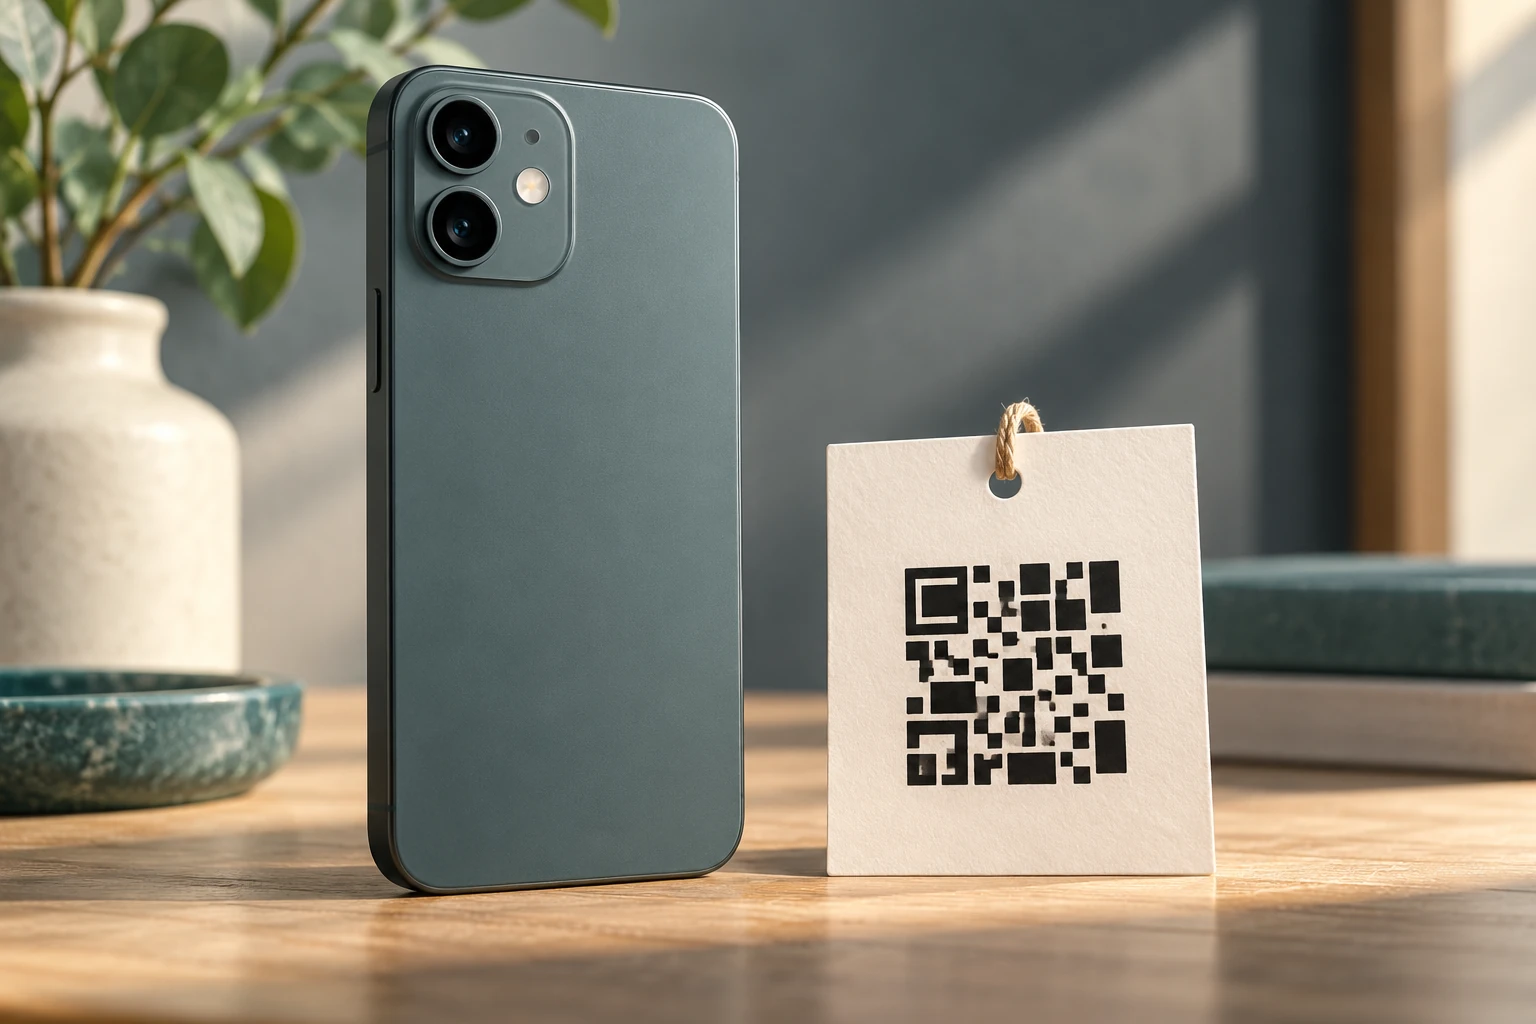
A printed QR code needs enough physical space for its pattern and a clear margin around it. The margin is part of the design area, not spare room for a caption. Before sending a flyer or label to print, confirm the code's destination, keep its border clear and scan an actual-size proof.
There is no single print width in this article that guarantees every code will scan. The pattern, module size, printing process, surface, viewing distance and scanning device all affect the result. Use the calculator to plan dimensions, then test the actual output.
Count modules, not decorative pixels
A module is one square unit in the QR pattern. Ask the generator for the symbol's module count or inspect an export that preserves the grid clearly. Do not count anti-aliased edge pixels in a screenshot as separate modules. Keep the square grid undistorted when placing the code.
DENSO WAVE's QR area guidance specifies a clear margin four modules wide on every side for a standard QR Code. The total width including that margin is the symbol width in modules plus eight, multiplied by the chosen physical module width.
Calculate a planning example
For an illustrative symbol 29 modules wide and a chosen module width of 0.5 mm, the pattern occupies 14.5 mm. Four modules of margin add 2 mm on each side, so the total reserved width is 18.5 mm. Those values demonstrate the formula; 0.5 mm is not a universal recommendation.
The calculator asks for the module count excluding the margin. If your exported image already includes a quiet zone, do not add another margin accidentally when measuring the pattern. Record whether a dimension refers to the pattern alone or the complete reserved square.
Keep the final artwork straightforward
Place the code on a clear background and keep text, borders and decorative elements outside its quiet zone. Avoid stretching the image to fit a rectangular gap. If the layout lacks room, revise the layout and test a new proof rather than squeezing the pattern into the space left over.
Use an export suitable for the print workflow and inspect it after placement. A crisp source can become blurred through scaling or conversion. Check the final PDF or print file, since that is what the printer will receive. A screenshot of the design editor is not the production file.
Verify the destination as a reader
Scan the code and inspect the complete destination before approving the proof. Confirm that it opens the intended page on a phone and that the next action works. If the code points through a redirect service, document who controls that redirect and whether continued access depends on an account or subscription.
Print a readable short destination or alternative instruction nearby when practical. This helps someone who cannot scan the code and makes the purpose clearer. Keep that text outside the quiet zone and check that it matches the encoded destination.
Test the printed result
Print at the intended size on a representative surface. Test from the likely viewing position and under the lighting the reader will encounter. Try more than one available device, and record any failure rather than counting a single successful scan as the whole test.
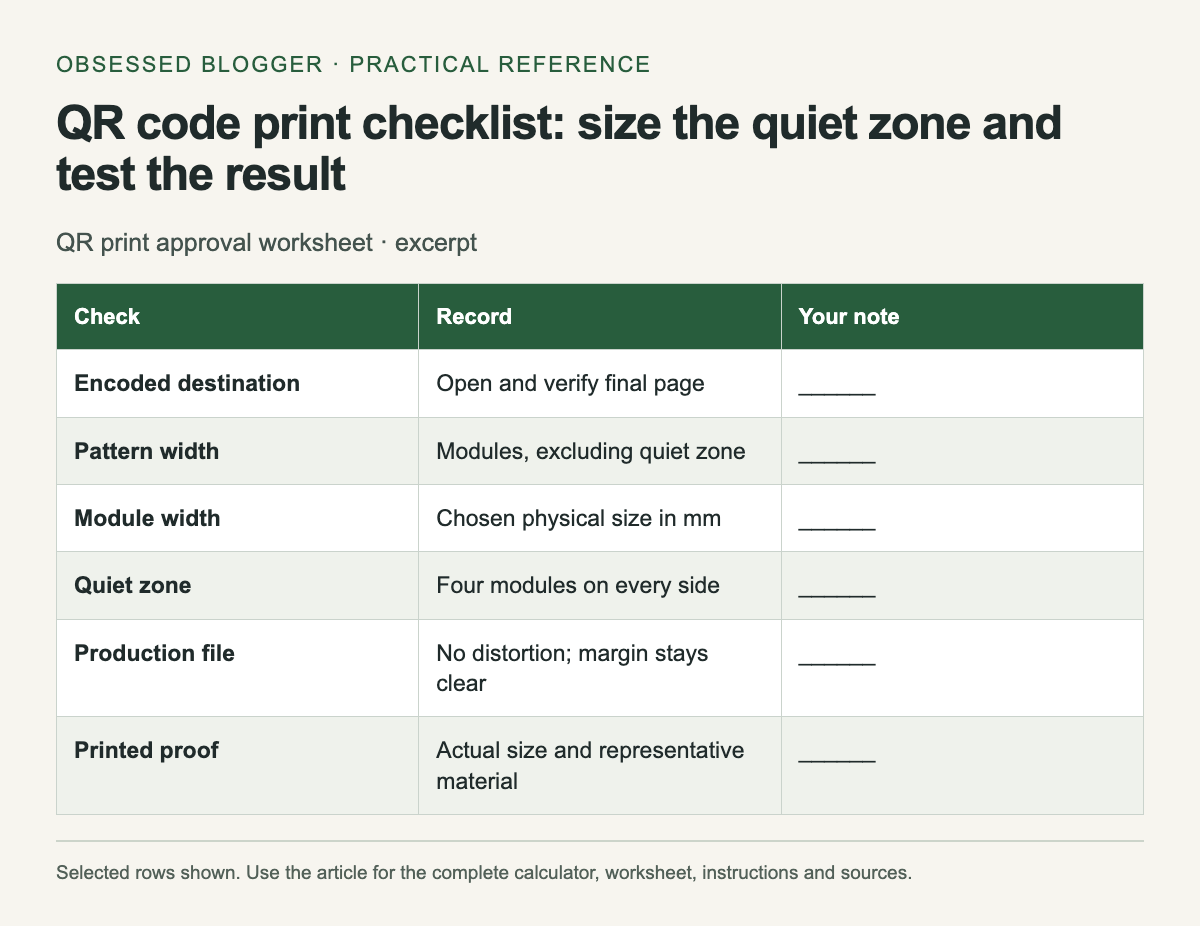
Check again after folding, laminating or placing the code on a curved object if those steps are part of the final use. Keep the approved proof and the source artwork together. The checklist below records what was tested so a later reprint does not quietly change size, destination or material without another check.
| Check | Record | Your note |
|---|---|---|
| Encoded destination | Open and verify final page | ______ |
| Pattern width | Modules, excluding quiet zone | ______ |
| Module width | Chosen physical size in mm | ______ |
| Quiet zone | Four modules on every side | ______ |
| Production file | No distortion; margin stays clear | ______ |
| Printed proof | Actual size and representative material | ______ |
| Scanning test | Devices, distance, lighting and result | ______ |
Calculate your result
Values stay in this page. The worked example also works without JavaScript.